QuickBooks Online for Dummies [Beginners Guide]
- nasfranks9273
- Feb 28, 2023
- 4 min read

QuickBooks Online is a powerful accounting software that has become increasingly popular among small business owners and self-employed individuals. Whether a startup founder or a freelancer, QuickBooks can help you with all of your accounting and finance needs. But for many people, the software can be overwhelming and difficult to navigate. That’s why we’ve put together this guide, QuickBooks Online for Dummies, to make sure that you don’t beat your head figuring it out all by yourself.
In this guide, we’ll take you step-by-step through the process of setting up and using QuickBooks Online. We’ll show you how to create an account, choose the right subscription plan, customize company settings and preferences, add and manage users, and more. We’ll also cover how to record and organize financial transactions, manage your business finances, generate financial reports, and much more. By the end of this guide, you’ll have a solid understanding of how to use QuickBooks Online to make the most of your hard-earned money.
Why it’s important for small business owners
Before we dive into the specifics of QuickBooks Online, it’s important that you understand why it’s such a valuable tool for small business owners and self-employed individuals. QuickBooks allows you to easily track your income and expenses, generate invoices and estimates, reconcile bank and credit card accounts, and much more. This helps you automate trivial and routine activities so that you can invest more time in the things that matter the most.
It also provides a wide range of financial reports, including an income statement, balance sheet, and cash flow statement. All of these statements provide you with enough information to make strategic business decisions.
Setting Up QuickBooks Online
With that said, let’s get started on setting up QuickBooks Online. The first step is to create an account.
To do this, simply head over to the QuickBooks website. You can find the link below.
Now click on the “Sign In” button.
Scroll down and find the “New to Intuit?” statement, and click “Create an account” written in front of it.
You will now see a bunch of plans to choose from, including Simple Start, Essentials, Plus, and Advanced. Each plan offers different features and pricing, compare each and choose the one that seems to suit your needs best.
Upon choosing, you will see yourself on the checkout page. Enter your details, and make the payment.
You should receive a confirmation email once your payment is confirmed.
Getting things started
So, you are done with the account formation and subscription. It is time that you log into your newly created account and move into the nitty gritty of using TurboTax.
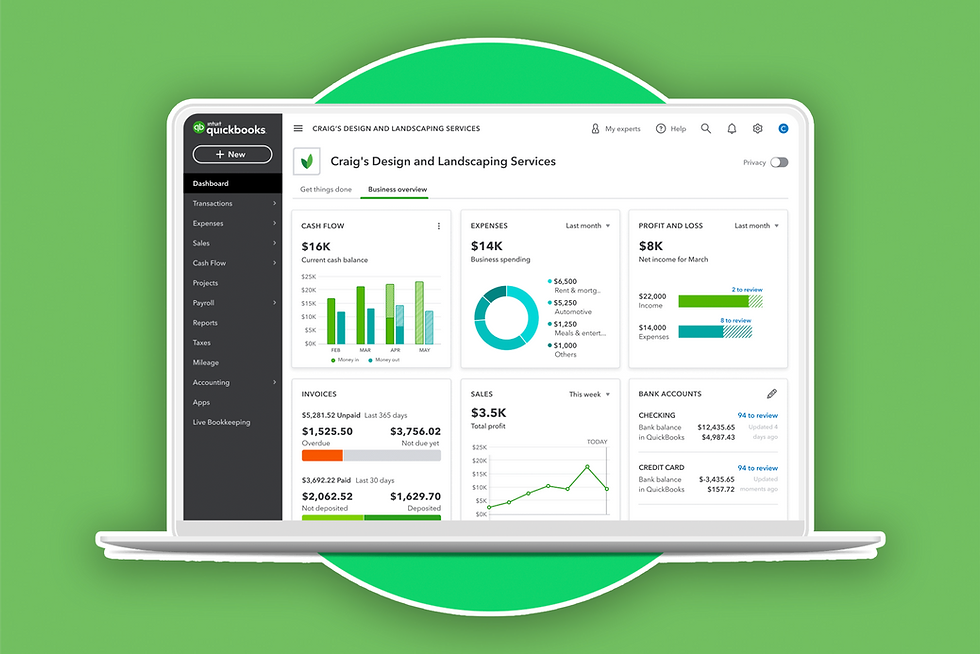
The first thing you see once you move past the welcome page is the dashboard. The dashboard is home to everything on your QuickBooks Online account. This is like the root of a tree or a hall of an apartment; you will access almost everything from here. That’s why it is important that you get the hang of everything. So, familiarize yourself with the intricacies of everything around here. In no time, it will be intuitive for you to tell where every click lends you and what you will do upon going there.
Complete your Company Information
You need to fill in the Company Information for the QuickBooks application to make the reference.
Click on the “Settings” icon.
Choose “Accounts and Settings.”
Find the “Company” tab.
This is where you’ll customize your company information, such as your company name, address, and contact information. You’ll also have the option to add and manage users, which can be helpful if you have employees or contractors who need access to your QuickBooks Online account.
Have your way with Financial Preferences
Financial preferences are like your personalized settings but with respect to your finances. This includes setting your cards, invoices, VAT details, and others to make sure you don’t have to go back every time you want to get something done. You can also tune down your sales expenses in the advanced settings tab.
Adding Payment Methods and Payroll Information
Once you are done setting your financial preferences, you will want to move ahead with setting up your payment methods. We don’t need to highlight the importance of doing so, as it is intuitive that businesses can function without money.
You can add your payment methods by navigating through the settings tab; you can also choose to sync your bank accounts into the QuickBooks Online application. Syncing comes in handy, assuring that you don’t miss out on any previous transactions and miscalculating stuff.
Payroll information is also important to be set up if you have a lot of employees. Do this by going over the following:
● Open “Payroll settings.”
● Then choose “Setup Overview.”
You will then add specific payroll-related information, which includes Tax setup, deductions, and payroll policies.
Integrating Popular applications
QuickBooks makes it possible to integrate popular applications into your account. These applications add up to your toolkit, providing you with the versatility you need. Simply head over to the QuickBooks applications tab; once there, you will find a number of applications to choose from. Pick what suits you.
Conclusion
This has been the “QuickBooks for Dummies” blog, where we started by introducing you to the QuickBooks Online application. Then we moved on to discussing its need for small businesses. After that, we guided you through the account setup process and made you do the one-time setup. We finally moved on to adding payments and payroll info and integrating popular apps. We hope you found what you were looking for.

![[Answered] Which TurboTax Is Right For Me In 2023?](https://static.wixstatic.com/media/0c889b_1372ef97935b4d9694c64e5f7fd80b96~mv2.jpg/v1/fill/w_972,h_547,al_c,q_85,enc_avif,quality_auto/0c889b_1372ef97935b4d9694c64e5f7fd80b96~mv2.jpg)
![How To Fix TurboTax Error 561? [Best Ways]](https://static.wixstatic.com/media/0c889b_6abb60ba1d1943179171befa6b1b976b~mv2.webp/v1/fill/w_866,h_577,al_c,q_85,enc_avif,quality_auto/0c889b_6abb60ba1d1943179171befa6b1b976b~mv2.webp)
Comments